What I enjoy the most in my career as SQL Server Performance Tuning Expert is a daily challenge while working on Comprehensive Database Performance Health Check. Today, we will be discussing the scenario where I did Stress Testing with oStress. Let us learn about that in today’s blog post.

Load Testing or Stress Testing
When developer or DBA is working on their local machine and building the application on the development system, everything runs perfectly fine. The real challenge shows up when the same architecture is deployed on the production system with a real workload.
If I have to talk about my client base, I have 80% reactive clients and 20% proactive clients related to SQL Server Performance. One of the things which we cover in my health check is how to do Load Testing or Stress Testing with oStress.
oStress
oStress is available as part of the RML utility from Microsoft. Once you install RML utility, oStress automatically is installed in your machine. I have blogged over here where you can Download RML Utilities.
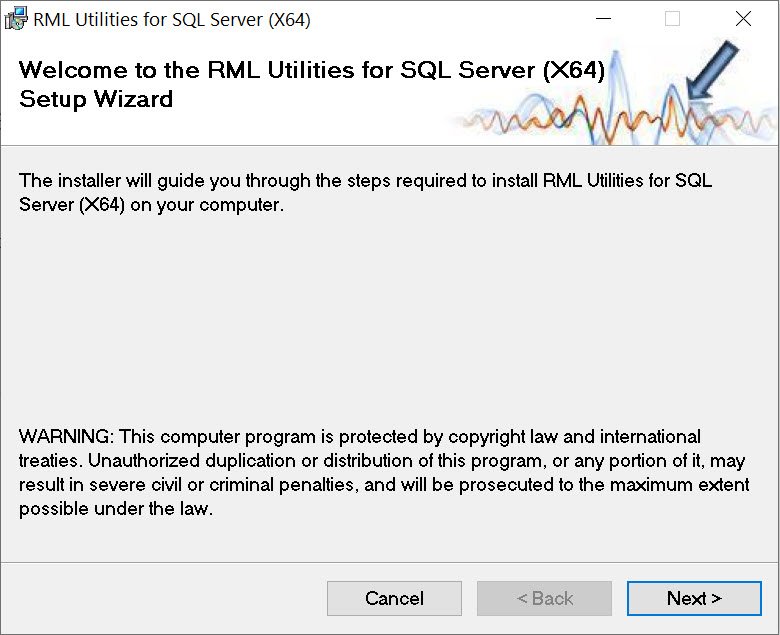
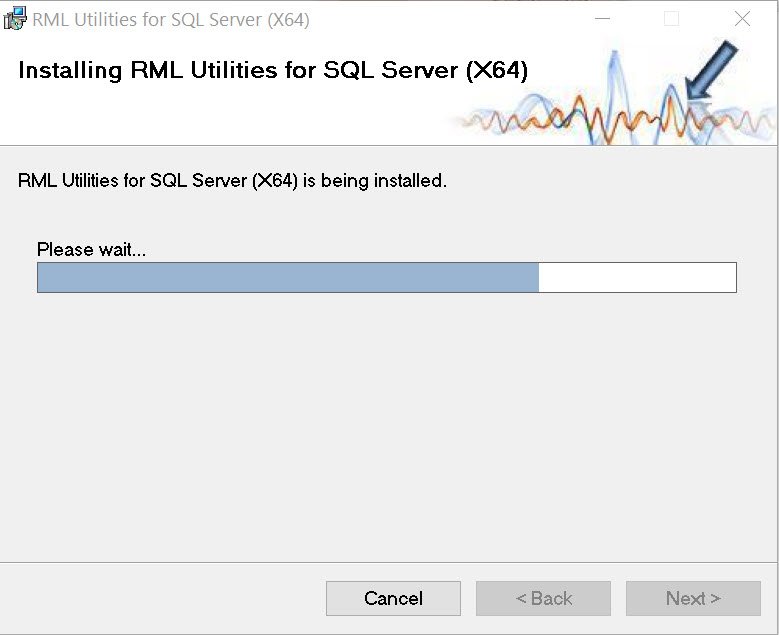
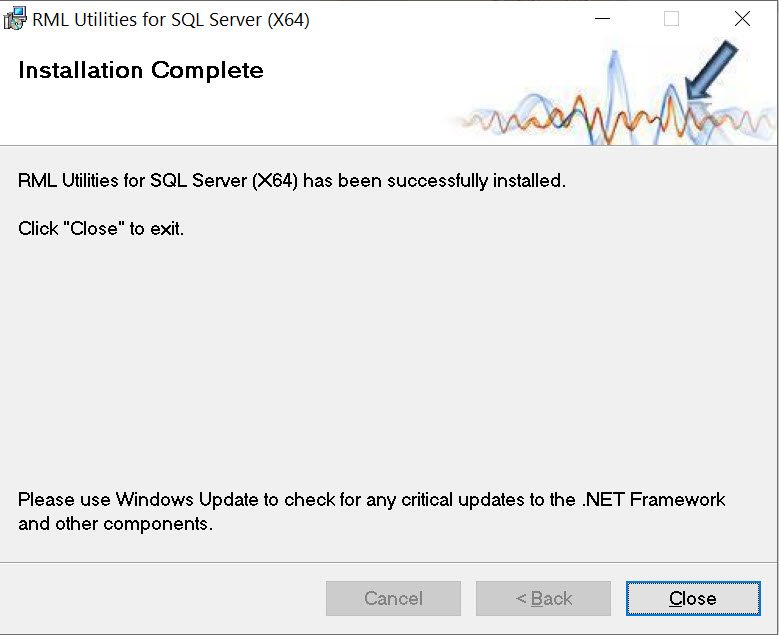
Once you download RML Utility, here is how you can install it.


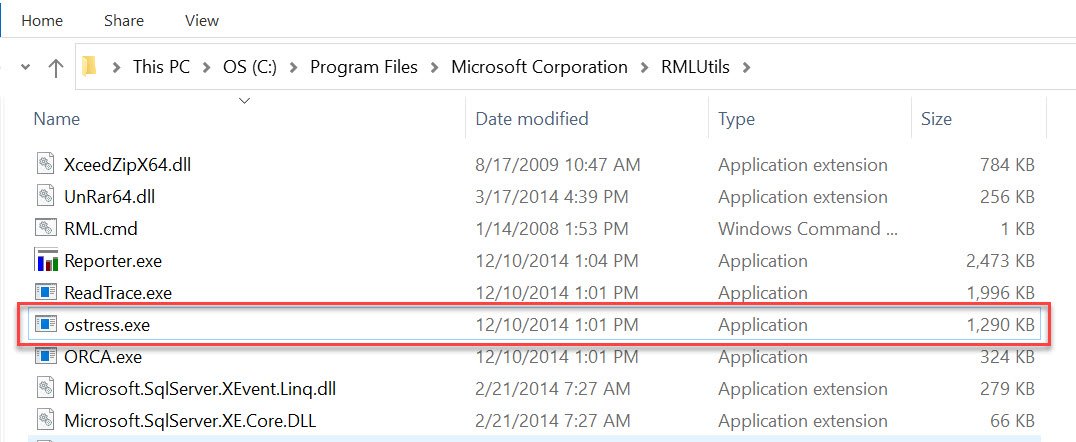
Now at this point of the time, you have successfully installed RML utility with oStress in your system. Now once the tool is installed, you can go to the following folder where RML Utilities are installed. In the most system, it will be here: C:\Program Files\Microsoft Corporation\RMLUtils

Once you in the folder of RMLUtility, you can double click on ostress.exe and run the application and it will show the following output.

The screen above will give us the details about all the helpful commands. Here are all the available commands and the one I use frequently are highlighted in the bold.
-S name of Microsoft SQL Server server to connect to
-D ODBC data source name to use for connection
-E use Windows auhentication to connect (default)
-U login ID
-P password
-d database name
-Q”single batch query to process”
-i SQL/RML file name or file wildcard to process
-n number of connections processing each input file/query – stress mode
-r number of iterations for each connection to execute its input file/query
-o output directory to write query results and log file
-l login timeout (sec)
-L integer value representing the language id
-t query timeout (sec)
-p network packet size for connections – SQL Server only
-q quiet mode; suppress all query output
-v verbose mode; show additional diagnostic output
-m [stress | replay] run in stress or replay mode
-a default password to use for SQL authentication during replay
-c control file name – required for replay mode
-T enable trace flag
-fx write query results as XML
-N disable “OSTRESS exiting” message
-M Advanced setting: max threads allowed, 0 is default setting.
-b Stop processing if an error is encountered during query execution.
Now that I know how to get started with the oStress. I went ahead in the SSMS switched the context to SQLAuthority database. Here I created a small table.
USE [SQLAuthority]
GO
CREATE TABLE [dbo].[TestTable](
[ID] [int] IDENTITY(1,1) NOT NULL,
[Description] [varchar](500) NOT NULL DEFAULT ('I hope you have a great day!')
) ON [PRIMARY]
GO
Now that table is created, we can insert the data into the table by using the script. Now let us assume that we want to run the same insert 20 times in five different sessions. In this case, you can run the following command to where there are 5 threads and each thread will run the following insert 20 times.
INSERT INTO [SQLAuthority].[dbo].[TestTable] VALUES (DEFAULT);
Now go to command prompt and run the following command.
ostress -S"Quick\SQL19" -E -Q"INSERT INTO [SQLAuthority].[dbo].[TestTable] VALUES (DEFAULT);" -n5 -r20 -q

Once you run the above statement, you will notice that it runs pretty quickly and the entire process took around 179 milliseconds.
Now in my query, I have not specified my username and password as I have used windows authentication by using -E. You can also specify your username and password and instead of specifying the query, you can also specify a filename as well. Additionally, in my case, I have specified the database name in the query but you can also specify oStress with the database name as well. Here is the script for the same.
ostress -S"Quick\SQL19" -Uadmin -Ppassword DSQLAuthority -i"sqlfilefromdisk.sql" -n5 -r20 -q
Well, there you go, you have learned about how to get started with oStress for Load Testing.
Reference: Pinal Dave (http://blog.SQLAuthority.com)


2 Comments. Leave new
A very useful utility. Thanks a lot for sharing!
Is there a way to specify the server connection parameters? It seems that if I add “;MyParam=xxx” ostress fails to connect to the server. Is this expected?