Question: How do you schedule a SQL Server Agent job in SSMS?
Answer: This old interview question keeps returning because knowing where to click is only half of the answer. A job needs at least one meaningful step, an enabled schedule, the right execution context, and a running SQL Server Agent service. The original walkthrough showed the full sequence in SSMS. Its screenshots still explain the sequence, so I have kept them as historical interface examples.

First connect to the SQL Server instance in SSMS and check that SQL Server Agent is available. SQL Server Express does not include SQL Server Agent. If the Agent service is stopped, a scheduled job will not run until the service starts. Creating or changing jobs also requires the appropriate SQL Server Agent role or administrator permissions.
Create the job and a step
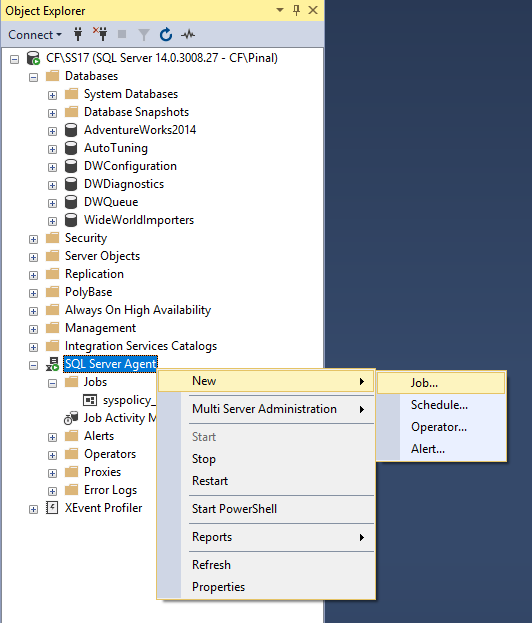
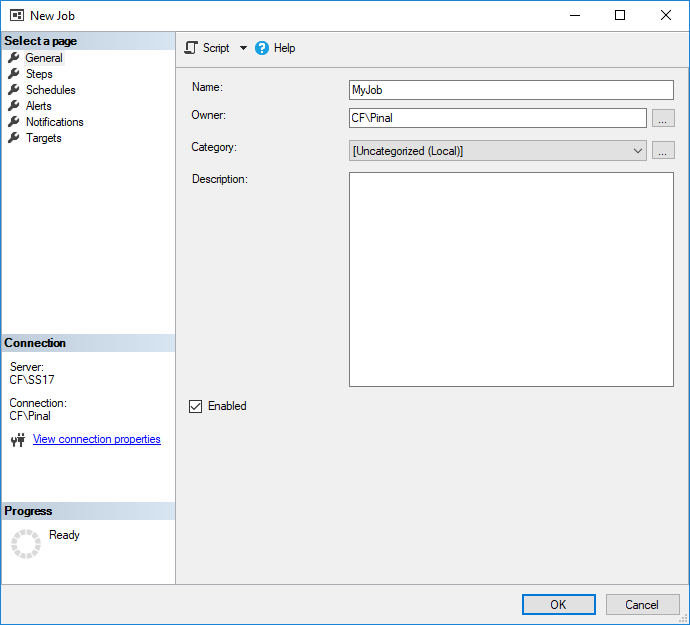
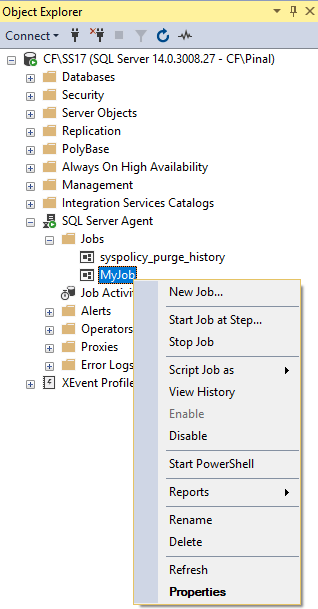
In Object Explorer, create a new job under SQL Server Agent. The first saved screenshot shows the original menu path. In the General page, give the job a clear name, check its owner, and keep it enabled only when you are ready for it to run.
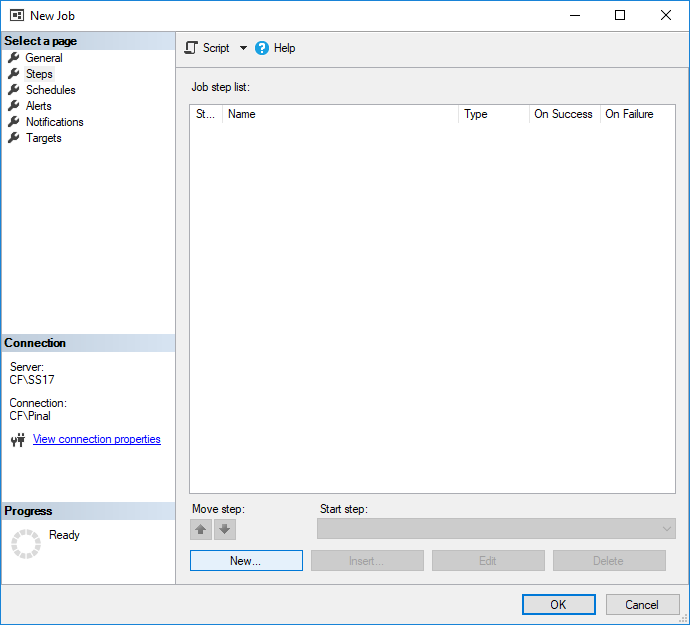
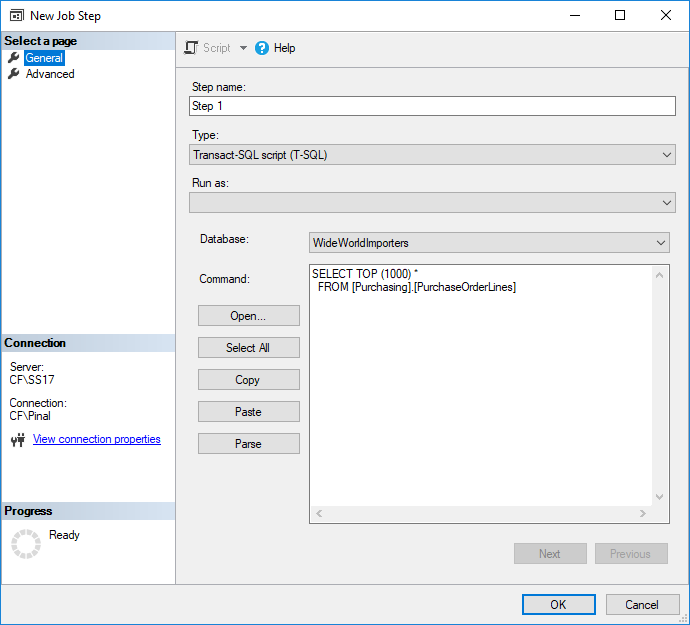
Next open Steps and choose New. Pick the step type and database deliberately. For a Transact-SQL step, put the SQL in the Command area and choose an execution context with only the permissions it needs. Do not use the demonstration query shown in the old screenshot as a production task without reviewing its purpose and load.
Attach and check the schedule
On Schedules, select New and choose whether this is a one-time or recurring job. Give the schedule a name, set its frequency and start time, then check the summary and enabled state before saving. Consider the server’s local time zone and any daylight-saving change when the job must run at a particular wall-clock time.
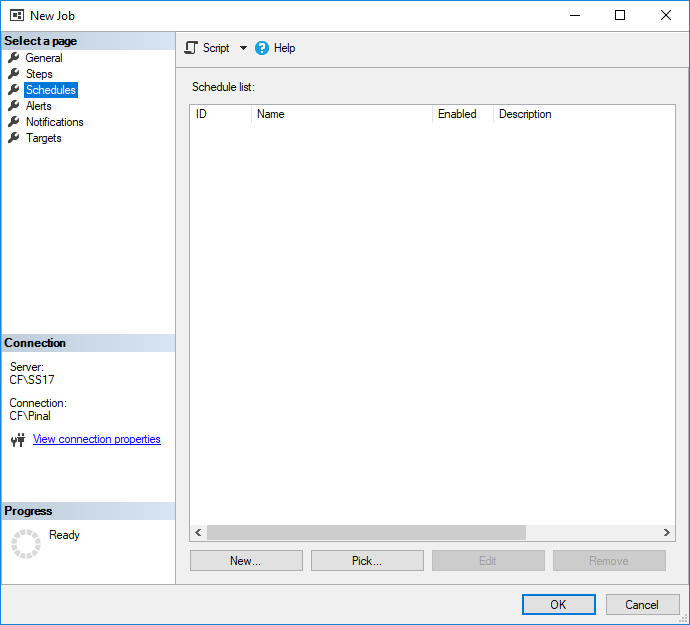
For example, to run every Saturday at 1:00 AM, choose Recurring, Weekly, every 1 week, Saturday, and Occurs once at 1:00:00 AM. Set the intended start date and enabled state. Read the final summary, then reopen the saved schedule to confirm it agrees with the fields.
Notifications and alerts are optional in the wizard, but for an important job I configure a way to learn when it fails. Save the job, then test it intentionally. In the original example, Start Job at Step ran the job on demand. That test proves a manual run succeeded; it does not by itself prove the future schedule will fire. Check Job Activity Monitor or job history after the scheduled time as well.
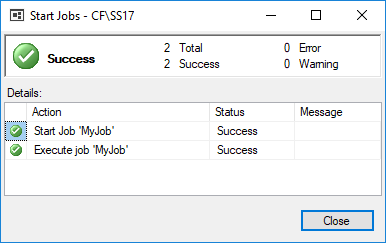
The interface in these saved images is from an older SSMS and SQL Server version, so labels or placement may differ on your machine. The workflow remains: create a job, define a step, attach a schedule, ensure Agent runs, then verify both an immediate test and a scheduled execution. That is the answer I would give in an interview.
Published by Pinal Dave on SQLAuthority. More of my work at pinaldave.com.
Discover more from SQL Authority with Pinal Dave
Subscribe to get the latest posts sent to your email.