To create an Azure VM for SQL Server, pick a SQL Server image and answer the portal’s questions. A virtual machine gives you full control of Windows and of the instance. That makes it the usual first step when an application needs a real SQL Server in the cloud.

Choose the Right Service First
Azure offers SQL Server in two ways. On a virtual machine, you manage the operating system, the instance, the patches and the backups. In a managed service, such as Azure SQL Database or Azure SQL Managed Instance, Microsoft runs the engine for you. An Azure VM for SQL Server fits an application that needs the full feature set. It also fits one that needs the same version as on premises, or access to the server itself. A managed service fits an application that needs none of that.
Before You Start
You need an Azure subscription, and permission to create machines in it. Decide the name, the region and the network before you open the portal. Pick a region close to the applications that will connect. Decide how people and applications will log in. The machine holds your data, so the password rules matter.
Cost deserves a minute. A virtual machine is billed for every hour it is allocated, whether anyone uses it or not. The Developer edition images are free of license charges and exist for development and test. The machine and its disks still cost money.
Licensing is part of the image. Most images include the SQL Server license in the hourly price. If your company already owns licenses with Software Assurance, you can use them and pay only for the machine. Check which option applies before you create a machine for production, because the choice changes the bill.
Write a short plan first. List the machine name, the region, the size, the administrator name, the ports and the SQL login. That list answers most of the portal’s questions, and the rest have sensible defaults. A written plan also gives a colleague something to review before the machine exists.
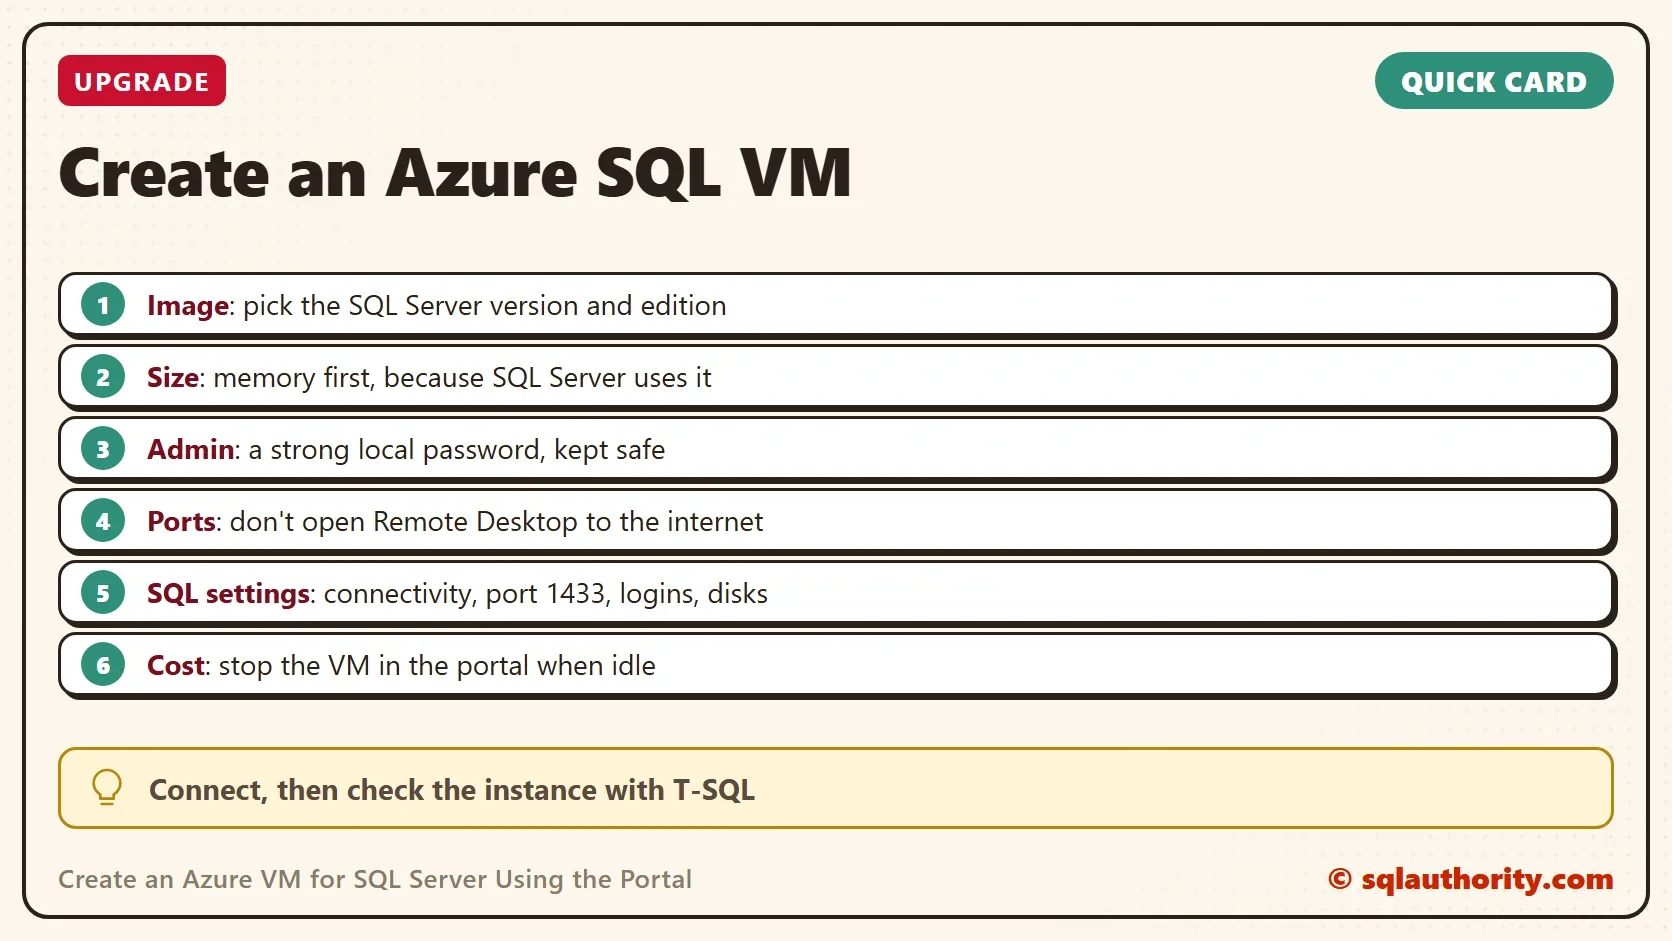
Steps to Create an Azure VM for SQL Server
The portal changes its menus from time to time. The steps below follow the names of the tabs and not the exact screens.
- Sign in to the Azure portal and choose Create a resource. Choose the SQL Server on Azure Virtual Machines offer and pick an image. The image decides the SQL Server version, the edition and the operating system, Windows Server or Linux. The steps below describe a Windows image. Choose Developer for testing, and Standard or Enterprise for production.
- On the Basics tab, choose the subscription and a resource group. Give the machine a name and choose the region. A resource group is a folder for everything this machine needs, so it can be removed in one step later.
- Choose the size. SQL Server uses all the memory it can get, so memory comes first. A small general purpose size is fine for a test. Production workloads suit the memory-optimized sizes.
- Set the administrator account. This is a local Windows administrator, so choose a strong password and keep it in a password manager.
- Look at the inbound port rules. Remote Desktop uses port 3389. Don’t open it to the whole internet. Use a private network, a VPN or Azure Bastion.
- Use the Disks tab for the disk type of the operating system, and the Networking tab for the virtual network and subnet. A machine without a public address can only be reached from inside the network.
- Open the SQL Server settings tab. Choose the connectivity: private inside the virtual network, local inside the machine only, or public. Keep port 1433 unless you have a reason to change it. Enable SQL authentication if the application needs a SQL login, and set its name and password.
- On the same tab, look at the storage configuration. Separate drives for data, log and tempdb are better than one drive. Switch on automated patching and automated backup if you want Azure to handle them. Both need the SQL Server IaaS Agent extension, which the portal installs for these images.
- Press Review + create, read the summary, and press Create. The portal shows the progress of the deployment. When it finishes, choose Go to resource.
Some choices are hard to change later. The region, the image and the virtual network are the main ones. The size and the disks can change, with a restart. The password can always be reset.
Connect and Check With T-SQL
Connect to the new machine with Management Studio, using the machine’s name or private address and the login you created. Three read-only queries confirm what you built. The first shows the version, the edition and whether SQL logins are allowed. The second shows the operating system. The third shows the processors and memory that the size gives you.
SELECT CAST(SERVERPROPERTY('ProductVersion') AS nvarchar(40)) AS ProductVersion, CAST(SERVERPROPERTY('Edition') AS nvarchar(60)) AS Edition,
       CAST(SERVERPROPERTY('IsIntegratedSecurityOnly') AS int) AS WindowsLoginOnly;
SELECT host_platform, host_distribution FROM sys.dm_os_host_info;
SELECT cpu_count, CAST(physical_memory_kb / 1024 / 1024 AS int) AS MemoryGB FROM sys.dm_os_sys_info;
The output below comes from a local test instance and only shows the shape of the output. On an Azure image the second query returns Windows and a Windows Server edition. The third shows the size you chose.
| ProductVersion | Edition | WindowsLoginOnly |
|---|---|---|
| 17.0.5005.3 | Enterprise Developer Edition (64-bit) | 0 |
| host_platform | host_distribution |
|---|---|
| Windows | Windows 10 Home Single Language |
| cpu_count | MemoryGB |
|---|---|
| 16 | 31 |
A WindowsLoginOnly value of 0 means SQL logins are allowed. A value of 1 means the instance accepts only Windows logins, and a SQL login will fail. Compare cpu_count and MemoryGB with the size you chose. The memory can read a little below the size’s nominal value. A large gap means a different size was deployed.
Control the Cost
Stopping Windows from inside the machine doesn’t stop the billing. Stop the machine in the portal, which deallocates it. The disks stay and still cost money, but the compute charge stops. When you finish with a test machine, delete its resource group. That removes the machine, its disks, its network address and everything else inside the group.
A Managed Database Is Simpler
You could argue that a managed database is simpler, and for many applications it is. Microsoft patches it and backs it up. A virtual machine asks more of you: updates, backups, security and disk space are yours. Choose it when you need what only a full instance gives you.
What to Remember
Before you create an Azure VM for SQL Server, choose the image, size, ports and SQL settings with care. The region and the network are hard to change later. Don’t expose Remote Desktop to the internet. After the deployment finishes, connect and check the instance with T-SQL, and stop the machine when you aren’t using it.
A virtual machine is not a managed service, it is a server you now look after.
Published by Pinal Dave on SQLAuthority. More of my work at pinaldave.com.
Discover more from SQL Authority with Pinal Dave
Subscribe to get the latest posts sent to your email.