
 I have previously written an article how one can import a CSV file into a database table using SSIS package. This was a simple import operation when the CSV file structure corresponded to the table structure column-to-column. However SQL Server Integration Services is a very powerful tool that can be used for much more complex data import CSV operations.
UPDATE (4/17/2013): Tool used in the blog post is dotConnect for Salesforce and it is based on the article dotConnect for Salesforce SSIS components.
So, let us consider a case when CSV file structure does not correspond to the database schema. For example, let’s import a list of products with their prices to the Salesforce cloud database.
Salesforce has a predefined database structure. Information on products and their prices is stored in three tables: Product2 (containing information on products), PriceBook2, and PriceBookEntry – the table that actually contains prices. PriceBookEntry has foreign keys to PriceBook2 and Product2.
To import data to Salesforce we use dotConnect for Salesforce from Devart – an ADO.NET provider for accessing data of the Salesforce cloud CRM and Database.com through the standard ADO.NET or Entity Framework interfaces.
dotConnect for Salesforce eliminates the need to learn complex Web Services API – it allows you to use your knowledge of ADO.NET and Entity Framework. It offers the easiest way for working with Salesforce data and the highest performance. It uses advanced data caching, connection pooling, and query optimization to increase the performance of working with Salesforce data. It has its own SQL engine that enables you to use SQL-92 statements for selecting data instead of limited SOQL.
Devart’s dotConnect for Salesforce provides advanced Salesforce Source and Salesforce Destination components for SSIS data flows. For example, Salesforce Source component allows using both SOQL and a subset of SQL-92 to query data, provides a powerful editor dialog box that allows you to select objects for querying data visually, supports working with SSIS system variables and deleted records.
Salesforce Destination component uses Salesforce native bulk protocol for loading data to increase performance, and provides advanced error processing. It can return a set of columns, containing original loaded columns, record IDs for the records, that are inserted successfully, error code, error columns, and error description for the columns, that caused an error. The latter feature will be used in this example.
You can read more about dotConnect for Salesforce SSIS components here.
So, we have a Product.CSV file with the following columns:
- ProductID
- Name
- Price
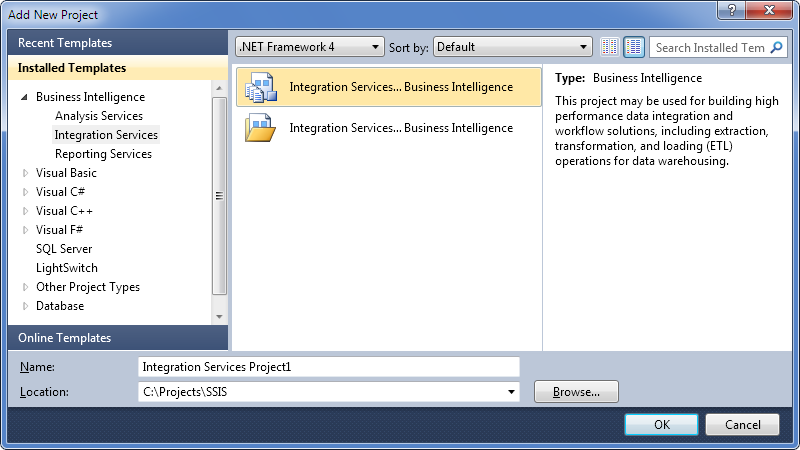
Let us create a SSIS package that imports this file to the Salesforce database. For this, first we create a new Integration Services project.
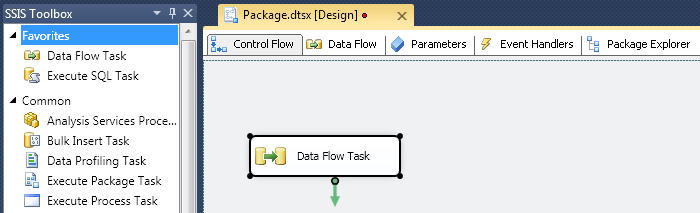
Drag Data Flow Task from the Toolbox to the Control Flow tab.
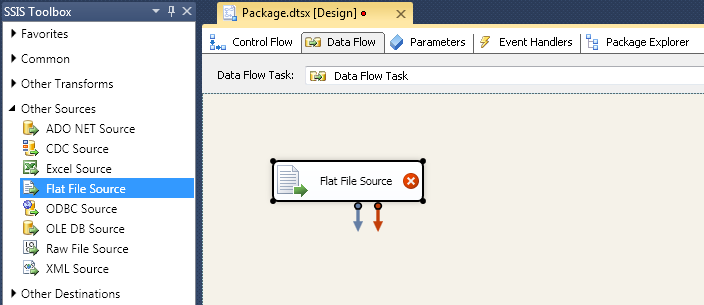
Switch to the Data Flow Task.
Drag Flat File Source from the Toolbox to the Data Flow tab.
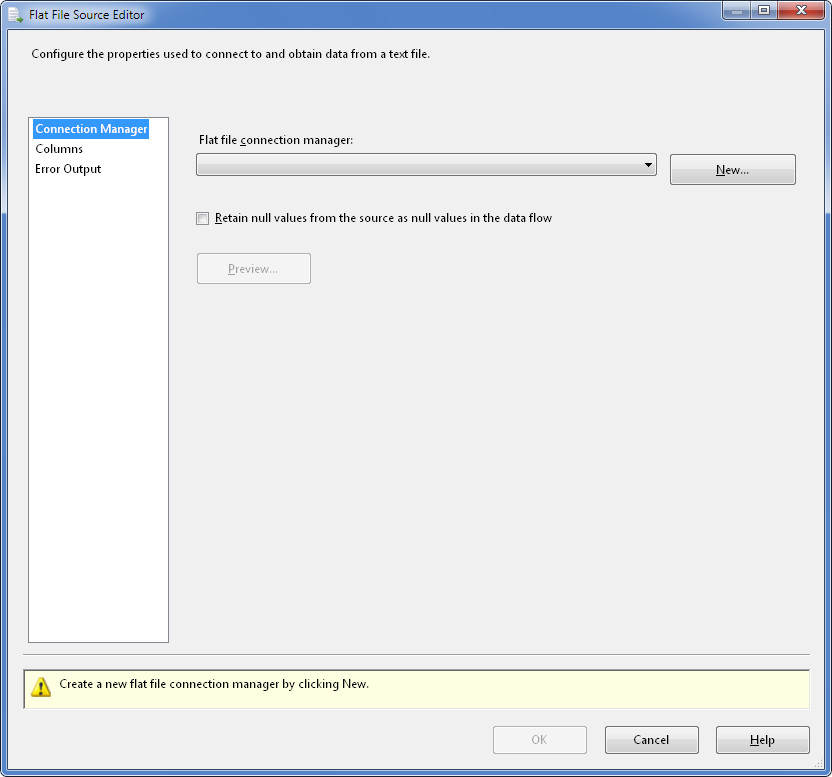
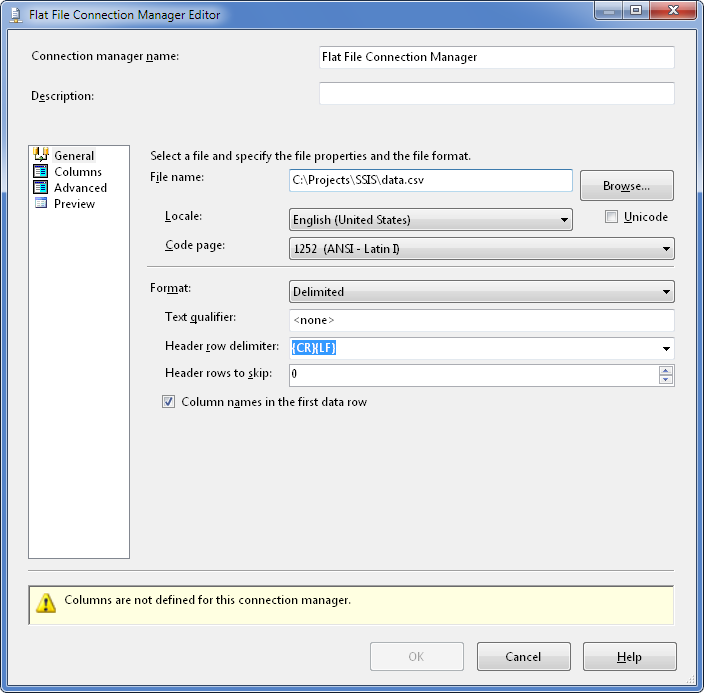
Double-click the Flat File Source and click New in its editor.
Specify the path to the file.
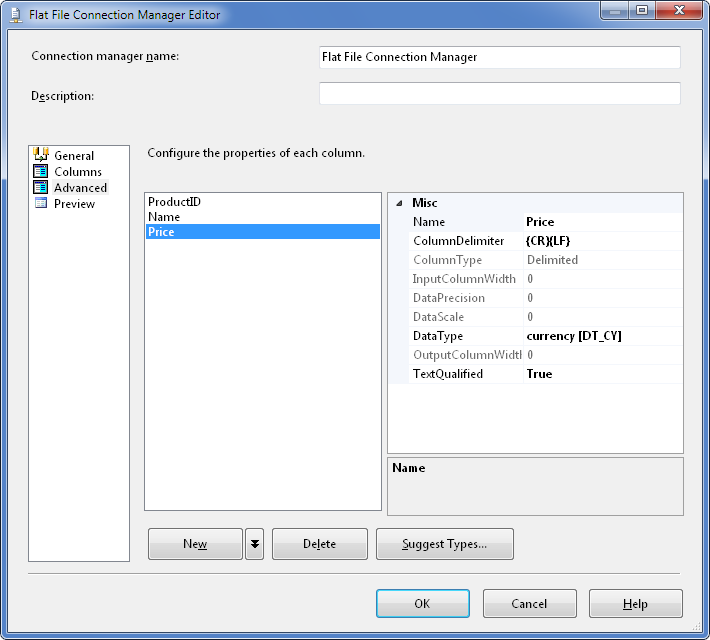
Click Advanced and define the columns. Use the New button to create columns, then specify names and datatypes for them.
Click OK in the connection manager editor and then in the Flat File Source editor.
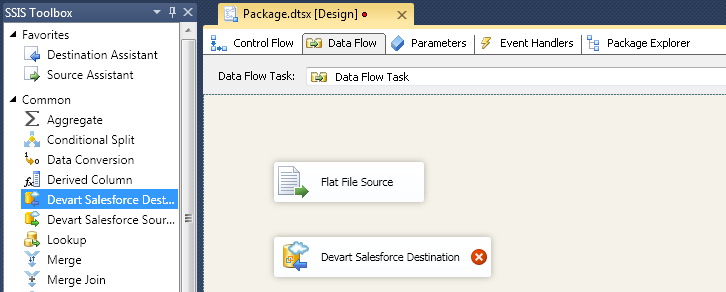
Drag Devart Salesforce Destination from the Toolbox to the Data Flow tab. We will use this instance of Devart Salesforce Destination for inserting data to the Product2 table.
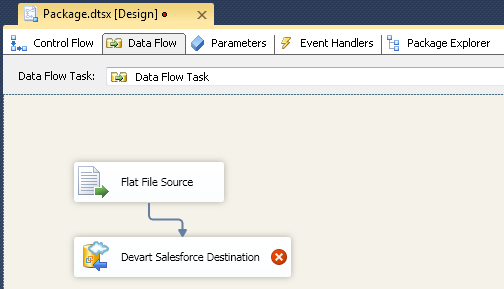
Click the Flat File Source on the Data Flow tab and connect its blue arrow to the Devart Salesforce Destination.
Right-click the Connection Managers tab at the bottom of the designer and select New Connection from the shortcut menu.
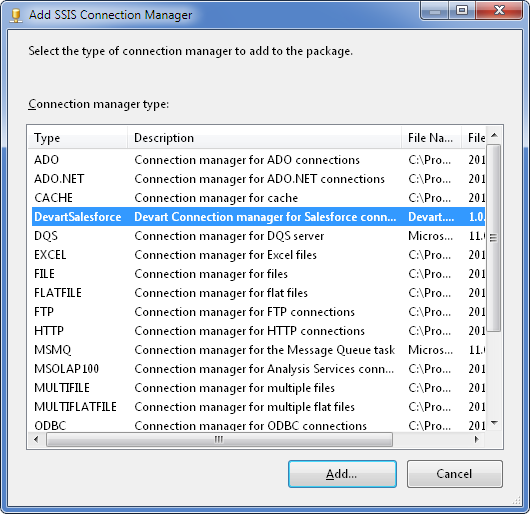
In the opened Add SSIS Connection Manager dialog box select DevartSalesforce and click the Add button.
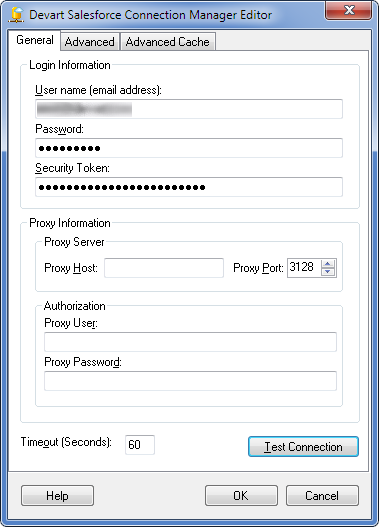
Specify the connection parameters and click OK.
Double-click the Devart Salesforce Destination on the Data Flow tab.
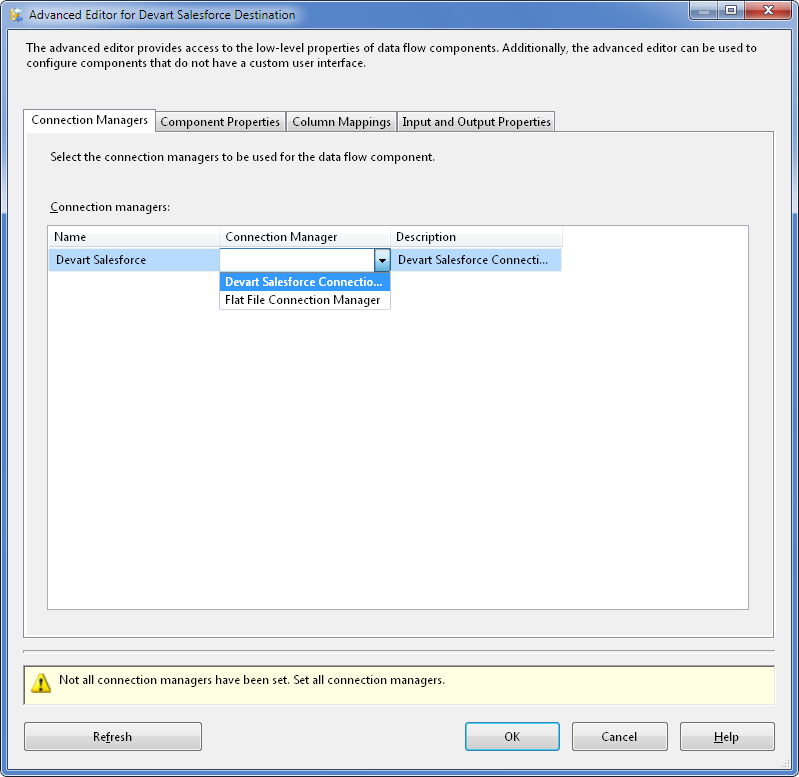
In the Connection Managers grid (in the Connection Manager column) select Devart Salesforce Connection Manager.
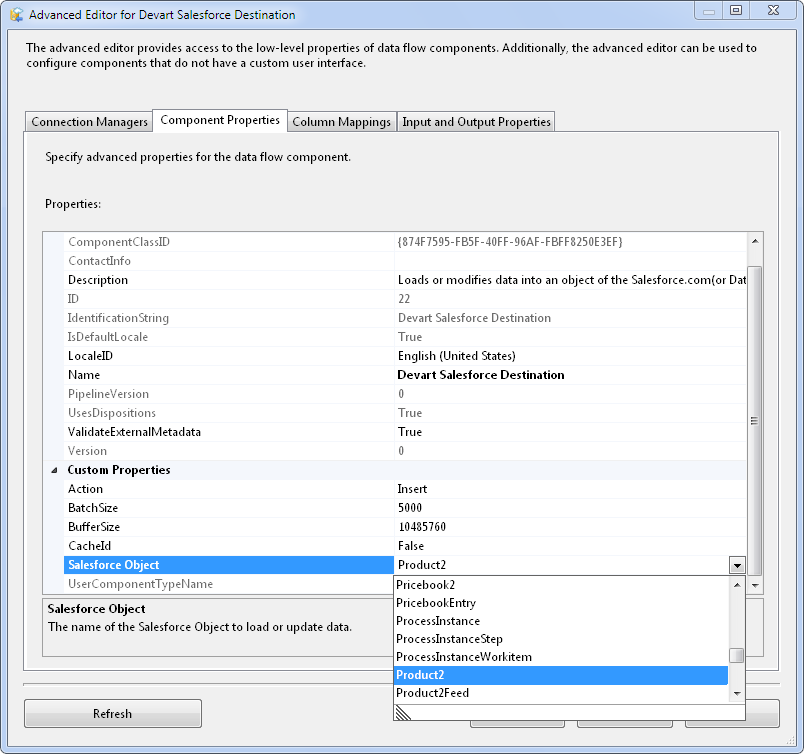
Switch to the Component Properties tab and select Product2 for the Salesforce Object property.
Switch to the Column Mappings tab. The Name column will be automatically mapped to the corresponding column in the Product2 table. Click OK.
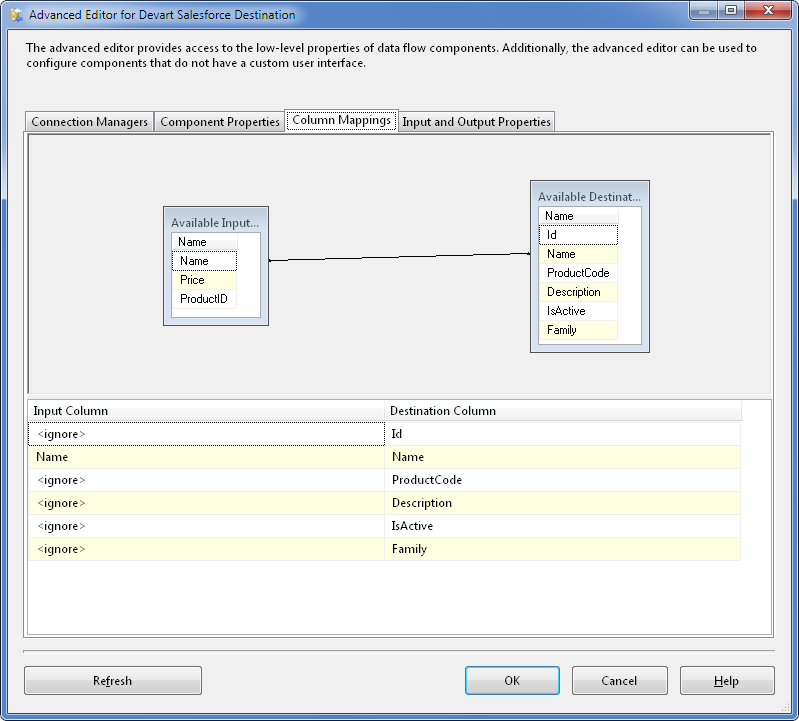
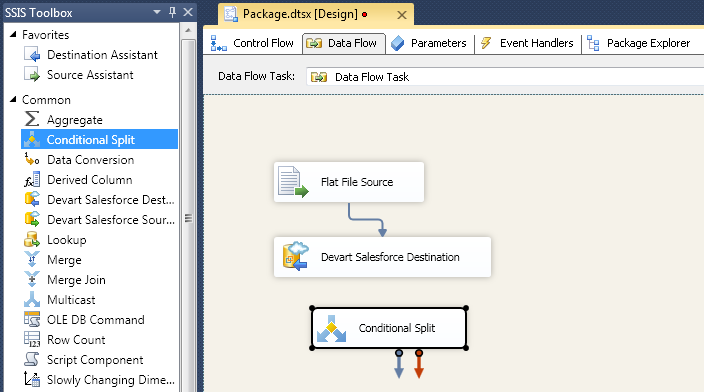
Drag the Conditional Split component from the Toolbox to the Data Flow tab.
Click the Devart Salesforce Destination on the Data Flow tab and connect its red arrow to the Conditional Split.
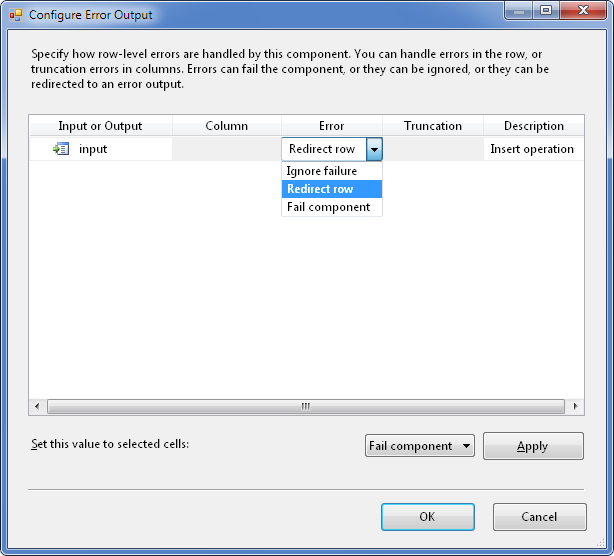
In the opened Configure Error Output dialog box, select Redirect row in the Error column and click OK.
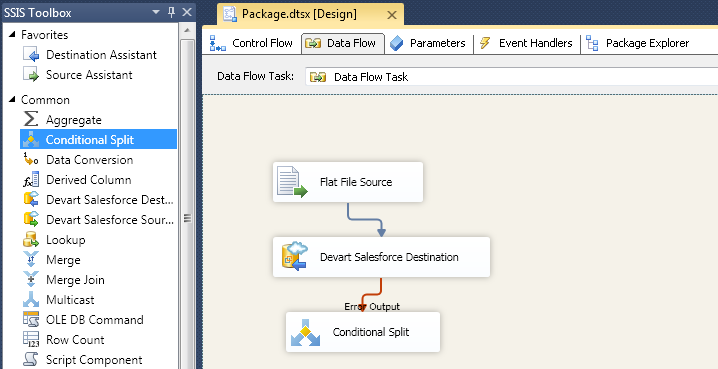
This setting will redirect all the rows, both successfully inserted and failed to be inserted, to the Error Output. We will need it to insert price data from the rows, successfully inserted to the Product2 table, to the PriceBookEntry table.
Advanced error processing capability of the Devart Salesforce Destination component allows us to easily distinguish successfully inserted rows from failed ones by the ErrorCode column value. What’s even more important, Devart Salesforce Destination returns Salesforce ID values of the records, inserted to the Product2 table, which are necessary to assign them to the Product2ID foreign key column.
To insert price data to the PriceBookEntry table, we also will need an ID value of a record in the PriceBook2 table corresponding to the pricebook we insert prices to. The retrieval of this value is described later.
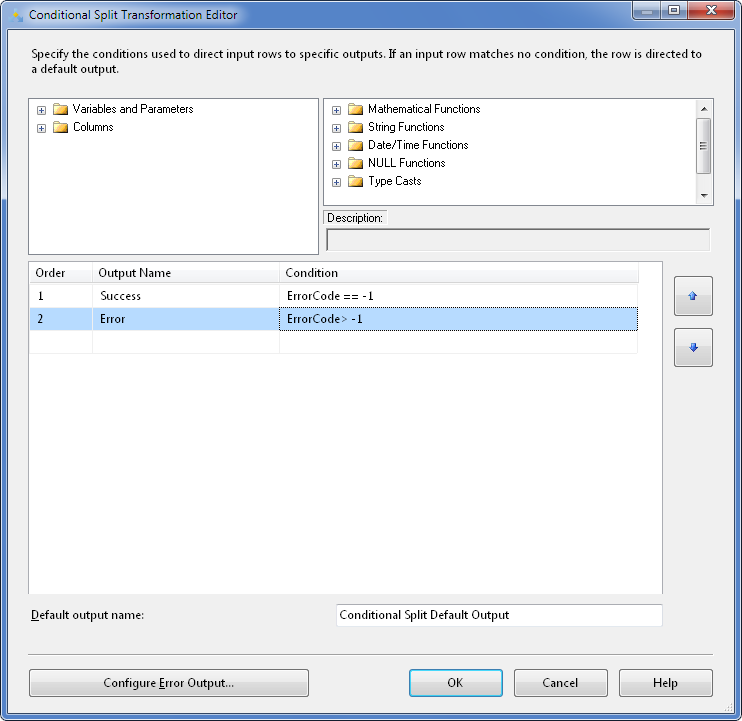
So, lets configure the Conditional Split component. Double-click it and add the following output names and conditions to the grid:
- the name ‘Success‘ with the condition ‘ErrorCode == -1‘ (successfully inserted records will go to this output)
- the name ‘Error‘ with the condition ‘ErrorCode > -1‘ (records that caused errors will go to this output)
Then click OK.
Now we get the ID of the pricebook, which we will insert prices to. We will use the standard pricebook (with IsStandard = true). To get its ID, drag Devart Salesforce Source from the Toolbox to the Data Flow tab.
Double-click the Devart Salesforce Source, and select the Devart Salesforce Connection Manager in the Salesforce Connection drop-down list and enter the following query to the Query box.
SELECT id
FROM Pricebook2
WHERE IsStandard = true
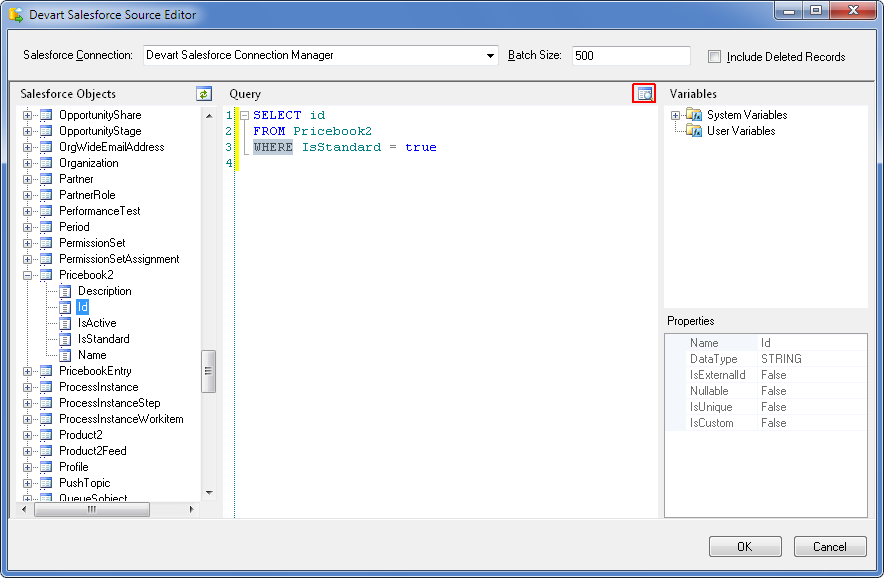
As you can see, the Devart Salesforce Source provides a powerful editor that displays all the available Salesforce objects and variables and shows the properties of the selected object. It also allows you to preview the queried data. We will use this feature to retrieve the ID of the pricebook we will use. Click the Preview Data button (highlighted with red).
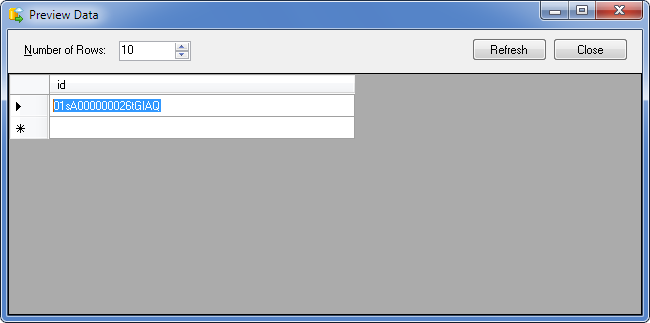
Copy the ID value, then click Close in the Preview Data window and click OK in the Devart Salesforce Source editor. After we copied the ID value, we don’t need the Devart Salesforce Source any more. We can delete it.
Then drag Derived Column from the Toolbox to the Data Flow tab. This component is used for adding custom columns to data flows.
Click the Conditional Split component and connect its red arrow to the Derived Column.
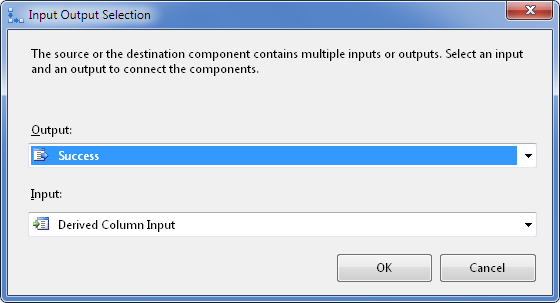
In the opened Input Output Selection dialog box select Success in the Output box and click OK.
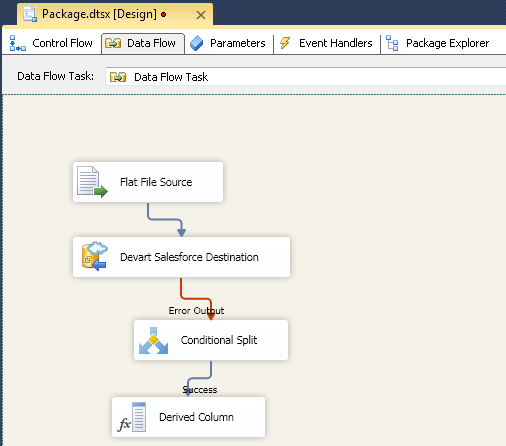
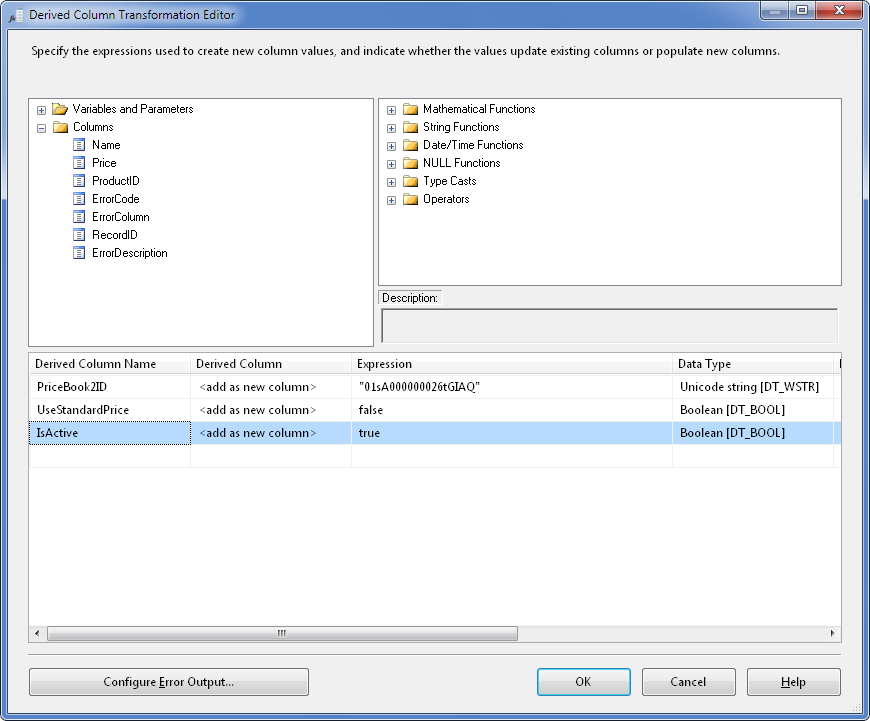
Double-click the Derived Column component. We need to add three custom columns in its editor. First, add the PriceBook2ID column – enter ‘Pricebook2ID‘ into the Derived Column Name column of the grid, paste the copied ID value to the Expression column and put it in quotes.
Then, in the second grid row, enter ‘UseStandardPrice‘ (without quotes) into the Derived Column Name column, and enter ‘false‘ (without quotes) into the Expression column.
In the third grid row enter ‘IsActive‘ into the Derived Column Name column, and enter ‘true‘ into the Expression column. Then click OK.
Drag Devart Salesforce Destination from the Toolbox to the Data Flow tab. We will use this instance of Devart Salesforce Destination for inserting data to the PricebookEntry table.
Click the Derived Column component on the Data Flow tab and connect its blue arrow to the Devart Salesforce Destination 1.
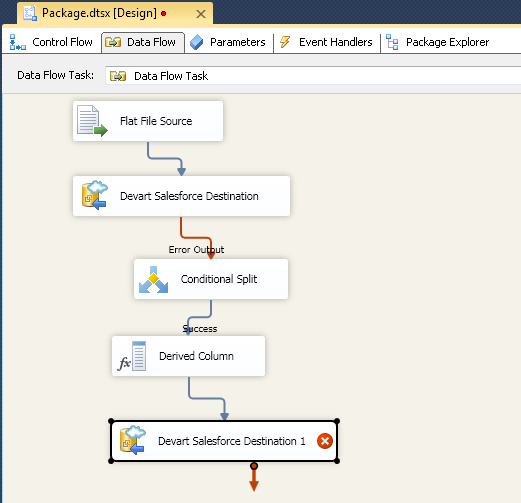
Double-click the Devart Salesforce Destination 1.
In the Connection Managers grid (in the Connection Manager column) select Devart Salesforce Connection Manager.
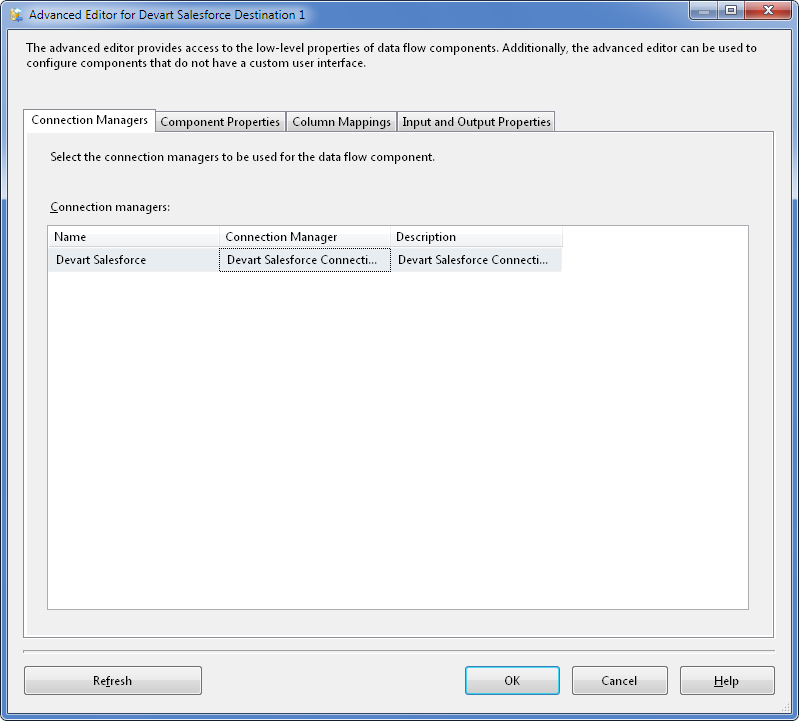
Switch to the Component Properties tab and select PricebookEntry for the Salesforce Object property.

Switch to the Column Mappings tab. In the grid row with the UnitPrice value in the second column, select Price in the first grid column. Click OK.

Now our package is ready.
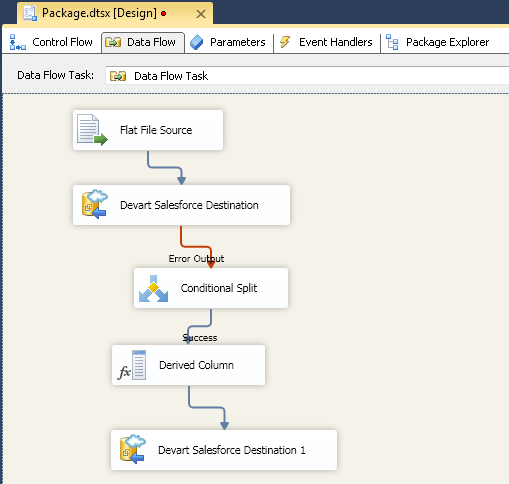
You may press the F5 key to execute the package in debug mode.
… and you are done! Please leave a comment about your experience with dotConnect for Salesforce and supporting article dotConnect for Salesforce SSIS components.
Published by Pinal Dave on SQLAuthority. More of my work at pinaldave.com.




6 Comments. Leave new
thanks for the post sir.
Is it possible with lower version of SQL Server? i.e MSSQL-2008 or MSSQL-2005?
dotConnect for Salesforce supports Business Intelligence Development Studio 2008 (SQL Server 2008). It does not support SQL Server 2005.
Nice Demo! Very Very useful!
How can i get Product.cs file?
I mean need to download product.csv file, where i can download it for this demo?
Great post! Your step-by-step guide on using SSIS to import CSV files into Salesforce is very informative and easy to follow. Thank you for sharing such valuable insights!